Showing posts with label Customize. Show all posts

Wednesday, January 18, 2012

HG 1/144 AGE-1S Gundam AGE-1 Spallow#02 (Pt.2)

Alright! Heavy rain outside at this time and i am free to update my blog with my latest complete work on this AGE-1S, maybe i should rename this to DA-1SS aka Dark Age-1 Speeh-toh~ Spallow. Cause of the color scheme and those metal thruster add-on. Now, hope you do enjoy the photo.

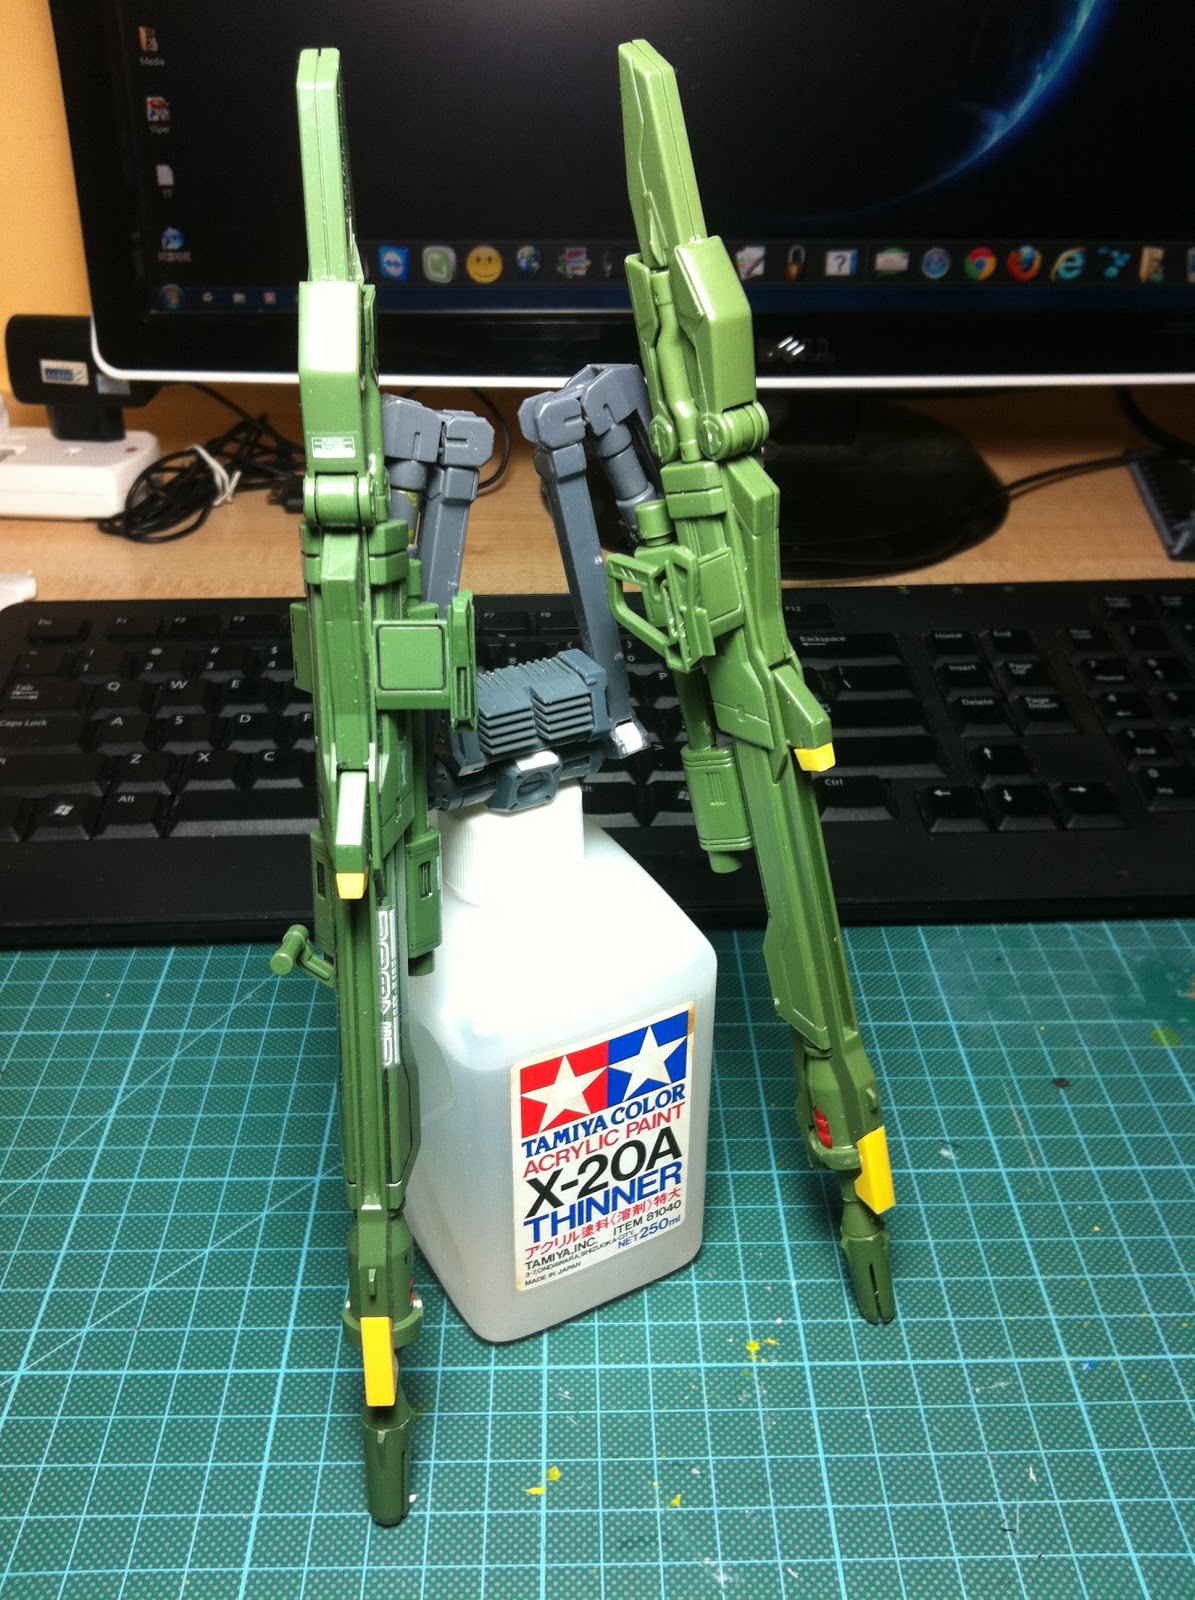
HG 1/144 Gundam AGE-1 SPALLOW

Wednesday, December 21, 2011

WIP: HG 1/144 Gundam Astraea

And today, I only manage to share one of the photo that i have taken so far since last week. And the photo show below are what i've done lately which i mixed the parts from a China Brand named "LoongOn" and the model name is "Lv Bu Armoured" 吕布机甲. So, what say you while view this photo? Your compliment are welcome. :D 


That's all for today sharing. Thanks for dropping by..

Tuesday, September 20, 2011

TT HongLi - Sinanju

Since having itchy hand while waiting for "Jesta", plan to do this in a slow process. Yes, it's TT HongLi and why i bought the fake kit instant of the Original from Bandai? Because of the price differences and i'm using this as for my 3rd Customize kit which combine with my previous Bandai Sinanju and the rest of the parts will goes with TT Unicorn.. Lots of Idea in my crazy brain. :)


Monday, September 19, 2011

Sound Activated GN Drive !!!

Today, I receive my order from HobbyMate, and this is what i've completely done on my GNX-603T. 
1x Sound Activated Kit with 2x Micro Leds (RED) for lighted up front & rear (Both Side) of GN Drive. I did share a short video clip below. Enjoy it.

Tuesday, September 13, 2011

Friday, September 2, 2011

The Process of Short Project

1st, you can get this kind of rubber joint which left behind after you have totally complete your lovely kit. So below the photo show 2 kinds of rubber joints, and the red circle show that's the kind of joint i use for funnel.

In this photo show before & after of the funnel. check on the circle parts

Friday, August 12, 2011

MC 1/144 Hi-V Gundoom

Limited Stock arrive today, Selling for BND$68 Each. (5 Boxes Available only for Brunei) Here are some photo preview posted.

This 模魂真悟 Model Comprehend HG 1/144 Hi-V RX-93-2 Gundoom is a customize mobile suit kit from china but it's runner and parts are totally outclass from those TT Hong Li or GaoGao. What i can say is... No Regret to owe this MC kits as it is an limited product produce by "模魂真悟" (Mo Hun Zhen Wu)

Project Complete

Finally, Project is done.


Thursday, August 11, 2011

Work In Process - Preview

Today, i actually planing to carry on my project but than it's so suddenly i feel lazy to start on. So i decide to do some photo shoots as for preview.

Thursday, July 28, 2011

Work In Process - Step 4.3

As for today's work is to put some putty onto the "fin" of Gatling Gun and the modify shoulder armor. And below is the photo as i need to put it under the sun for 6 hours or more.


Tuesday, July 26, 2011

Work In Process - Step 4.2

I decide to re-customize the launcher shoulder armor from the previous look to this as you can view the photo below


Sunday, July 24, 2011

Work In Process - Step 4.1

The hardest parts to customize "Launcher Shoulder Armor" as the original armor is just for one side, so i have to customize the other set as for both having launcher shoulder armor.


Saturday, July 23, 2011

Work In Process - Step 3.3 + Preview Photos

Being busy time for college and lots of assignment... but i still enjoying having school time. Ok! After done the twin launcher backpack and it's time to put it on for swing/rotate test.

Tuesday, July 19, 2011

Work In Process - Step 3.2

Thing getting hard and harder for customize now.. and my brain juices is linking ~ lol.

OK now,.. here are some photo;

Monday, July 18, 2011

Work In Process - Step 3.1

Just can't be patient and relax while idea is popping out.
Step 3.1: Getting an idea in a flash of time and rush on it while out of the imagination in my mind.

Work In Process - Step 2

Step 2: The "HOOK" of the Launcher, there are 2 set of hook for launcher. One for the right launcher and one for left launcher. (left a little putty & painting)

Time to continue working on it....

My Competition Model kit "BREAK" into pieces after out from Category B and now it's time for me to continue this project to the end of my idea. BTW, it's great to share around your skills, as I'm still a newbies :p


And here i start,....

Step 1: The Launcher. This is the 1st step I have to modify. As you can see the difference of it. (left putty apply & painting)